Wood flooring is a beautiful and timeless addition to any home. Over time, however, it can become scratched, dented, and even gouged. When this happens, it’s crucial to patch up the damage as soon as possible to prevent the issue from worsening. In this step-by-step guide, we will show you how to fix wood flooring using basic tools and supplies that you likely have in your home already.
1. Prepare the area
Before beginning to patch up any damage on your wood flooring, it is important to prepare the area properly. Start by removing any debris and dirt from the grooves and crevices of the damaged area. Next, use a vacuum with a soft brush attachment or a broom and dustpan to get any particles out of the area. After this, use a damp cloth to wipe down the surface and make sure all dust has been removed.
Once you have adequately cleaned the area, mark off any loose planks or pieces that need to be patched. This will help you keep track of where you need to fill in gaps or replace planks during the repair process. In addition, you may find it helpful to use tape or markers so that you can easily identify which parts need work when you begin repairing them.
Finally, make sure that the subfloor beneath your wood flooring is stable and secure before beginning repairs. This helps ensure that your new flooring will stay firmly in place for years to come. With these steps completed, you are now ready to start patching up your wood flooring!
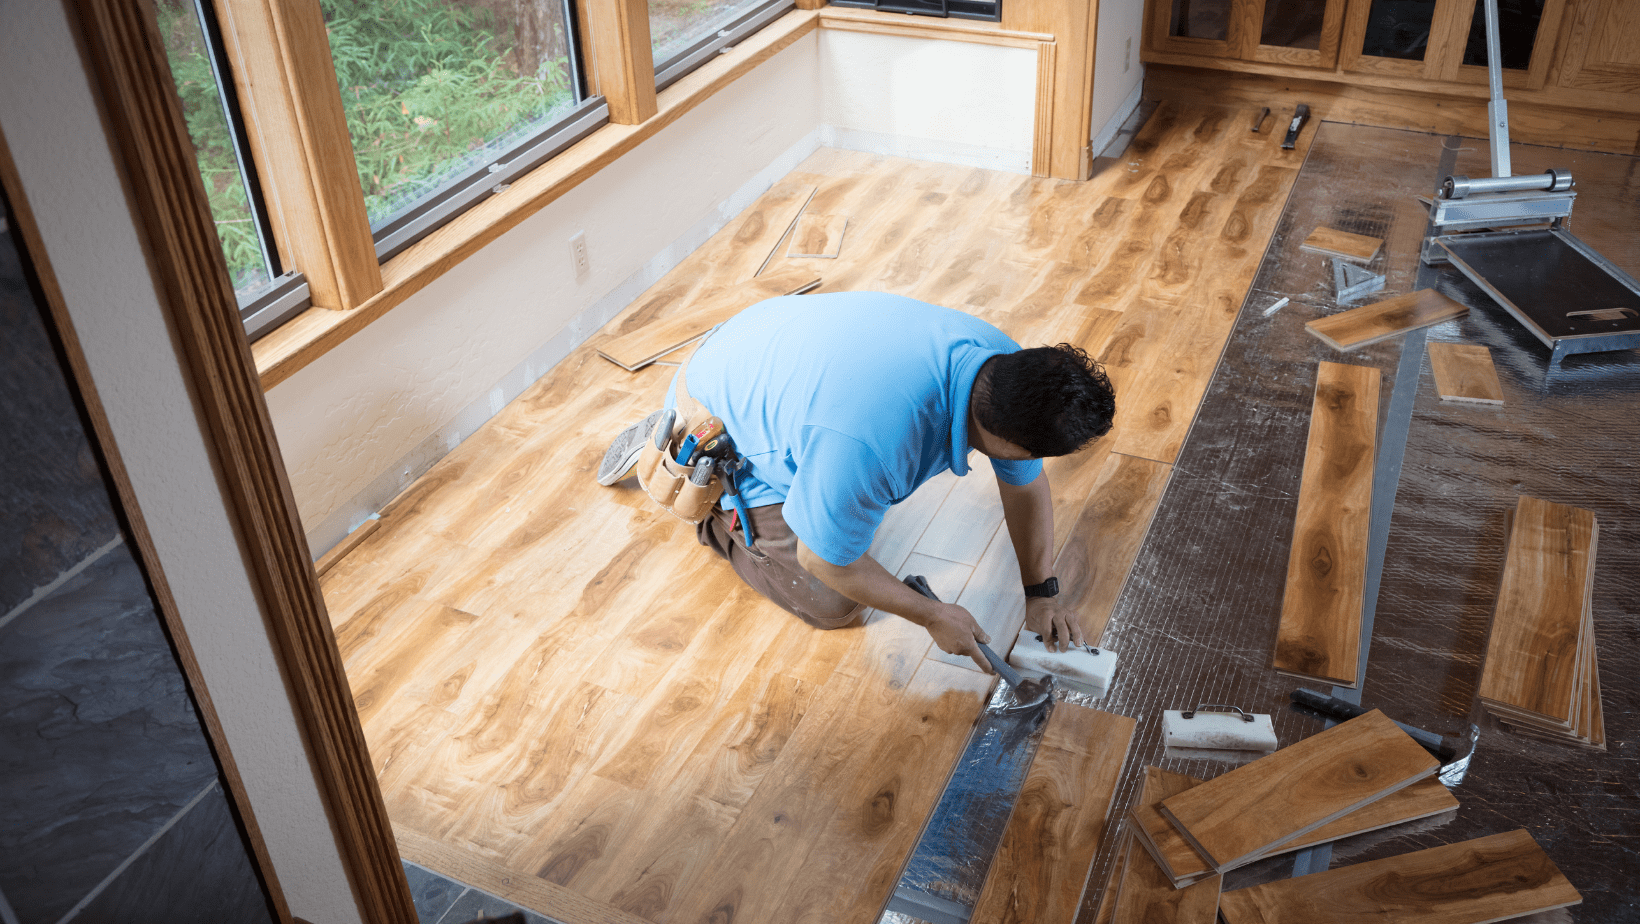
2. Replace Loose Planks
If you have identified any loose planks or pieces during your preparation process, it’s time to replace them. Start by carefully prying up the damaged plank with a crowbar and gently remove it from its place on the floor. Once all of the old planks are removed, use a chisel and hammer to level out any uneven areas in the subflooring beneath them. This will help ensure that the new planks fit snugly in their place without any gaps or bulges.
Next, measure the width of the new level area so that you can purchase replacement wood planks that match your existing flooring as closely as possible. Then cut each plank to size using a saw and sand down the edges for a smooth finish. Finally, secure each plank in place with nails and a hammer, making sure to press down firmly to ensure a tight seal. With your new planks securely in place, you’re now ready to move on to filling any gaps or scratches in your wood flooring.
3. Fill Gaps and Scratches
Once all of the loosened planks have been replaced, use wood filler to patch up any remaining gaps or scratches that may be present on your flooring. Start by mixing together some wood putty according to the instructions on the package and then apply it to the dents or cracks using a putty knife. Make sure that the putty is evenly distributed across the damaged area so that it adheres properly to the flooring.
Once you have filled any gaps or scratches on your wood flooring, let the putty dry for several hours before sanding down any raised areas with a piece of fine-grit sandpaper. This will help ensure that your repaired area looks smooth and seamless once finished. With this step completed, all you have left to do is finish your repair job!
4. Finish Off Your Repair Job
Now that all the patchworks are complete, it’s time to finish your repair project. Start by brushing away any wood dust from the area and then apply an even coat of finishing wax over the patched-up area. Make sure that you use circular motions as you work to ensure that the wax is spread out evenly and fills in any crevices or grooves on your flooring.
Once you have finished applying the wax, let it sit for a few hours before buffing it out with a clean cloth. And voila – your wood flooring should now look as good as new! With these steps completed, your floor will remain sturdy and free of any further damage for years to come.
We hope this guide has been helpful in showing you how to fix wood flooring using basic tools and supplies. By following these simple steps, you can repair any minor scuffs or scratches on your wood floors without having to replace them entirely. So get patching up your wood flooring today and enjoy the results for years to come!

