Vinyl plank flooring has become a popular choice for homeowners due to its durability, affordability, and ease of installation, and you will be pleased to know that it is not too difficult to install vinyl plank flooring yourself.
That being the case, in this detailed guide, we will walk you through the process of how to install vinyl plank flooring, ensuring a professional finish that enhances the beauty of your space.
Preparing for Installation
1. Gather Necessary Tools and Materials
Before starting, ensure you have the following items on hand:
- Vinyl planks
- Tape measure
- Utility knife
- Rubber mallet
- Tapping block
- Spacer wedges
- Level
- Carpenter’s square
- Pencil
- Pry bar
- Safety goggles and gloves
2. Choose the Right Vinyl Plank Flooring
Select a high-quality vinyl plank flooring that suits your needs in terms of design, thickness, and wear layer. The wear layer is crucial for durability, with a thicker layer offering better protection against scratches and dents.
3. Prepare the Subfloor
For successful vinyl plank flooring installation, it’s essential to have a clean, level, and dry subfloor. Remove any existing flooring and adhesive residue, and repair any damaged areas. Ensure the subfloor is level, filling in low spots and sanding down high spots as needed. Finally, clean the subfloor thoroughly, removing any dust and debris.
4. Acclimate the Flooring
To avoid issues with expansion and contraction, allow the vinyl planks to acclimate to the room’s temperature and humidity for at least 48 hours before installation. Store the planks flat and unopened in the room where they will be installed.
5. Plan Your Layout
Measure the room and plan the layout of your planks to ensure an aesthetically pleasing result. Ideally, planks should be staggered, with end joints spaced at least 6 inches apart. Additionally, aim for the last row to be at least half the width of a plank. If necessary, trim the first row to ensure the last row meets this requirement.
Step-by-Step Guide to Install Vinyl Plank Flooring
Step 1: Begin the First Row
Starting in the left corner of the room, place a spacer wedge between the wall and the first vinyl plank to maintain an expansion gap (typically 1/4 inch to 3/8 inch). This gap allows for natural expansion and contraction of the flooring. Make sure the tongue side of the plank faces the wall. Align the plank along the wall, using a level to ensure it is straight.
Step 2: Connect the Planks
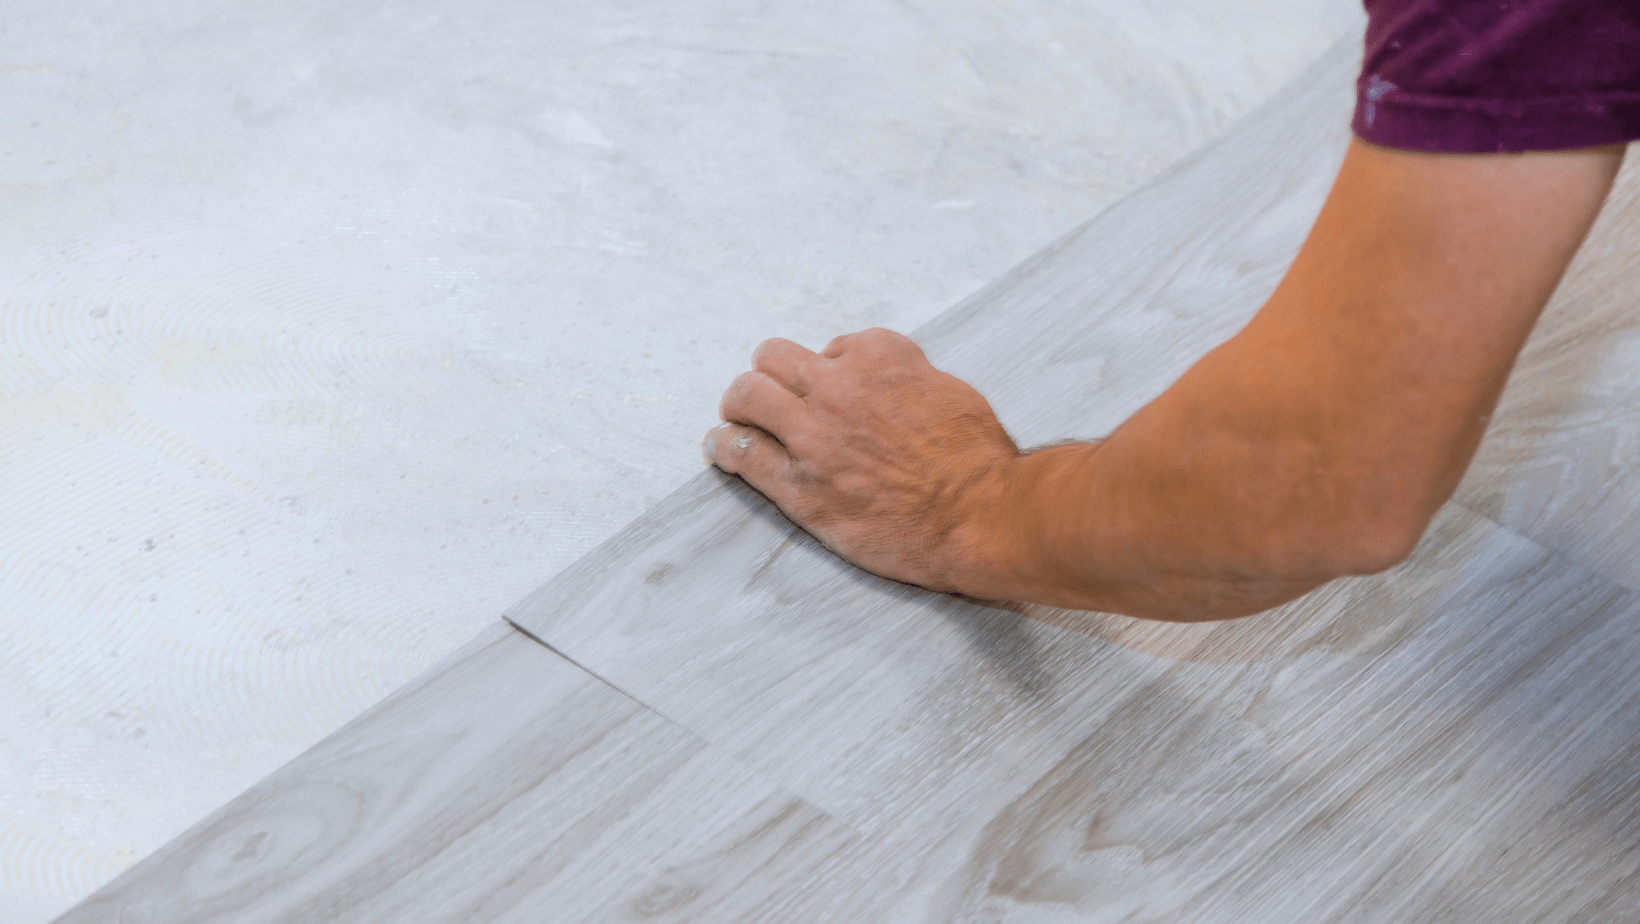
To connect the second plank to the first, angle the second plank’s groove into the first plank’s tongue at about a 45-degree angle. Once the edges are aligned, gently press down on the second plank, allowing it to click into place. Use a tapping block and rubber mallet to tap the planks together securely. Continue this process for the remaining planks in the first row.
Step 3: Cut the Last Plank in the Row
Measure the remaining space at the end of the row and cut the last plank to fit, allowing for the expansion gap. Use a carpenter’s square to mark the cutting line, and score the plank with a utility knife. Then, gently bend the plank to snap it along the scored line.
Step 4: Stagger the Planks
For the second row, begin with a plank that has been cut to ensure staggered end joints. Place the plank’s tongue into the first row’s groove, angling it at approximately 45 degrees. Press down, allowing the plank to click into place. Use a tapping block and rubber mallet to secure the connection.
Step 5: Install Remaining Rows
Continue installing the remaining rows, ensuring that the end joints are staggered by at least 6 inches. As you work, use the tapping block and rubber mallet to secure the planks and eliminate gaps. Don’t forget to maintain the expansion gap around the room’s perimeter by using spacer wedges.
Step 6: Install the Last Row
Measure the width of the remaining space for the last row, accounting for the expansion gap. Carefully mark and cut the planks to fit. Use a pry bar to secure the planks in place, ensuring a tight connection with the previous row.
Step 7: Remove Spacer Wedges and Install Transitions
Once all the vinyl planks have been installed, remove the spacer wedges from around the room’s perimeter. Install transition strips or molding at doorways and between different types of flooring, ensuring the vinyl plank flooring remains free to expand and contract.
Step 8: Install Baseboards and Quarter Round Molding
Reinstall baseboards or install new ones to cover the expansion gap around the room’s perimeter. If necessary, use quarter-round molding to hide any uneven gaps between the baseboards and the flooring.
Step 9: Inspect and Clean the Floor
Inspect the floor for any gaps or uneven planks, making any necessary adjustments. Once the installation is complete, clean the floor according to the manufacturer’s recommendations, ensuring the removal of any dust or debris.
Step 10: Allow the Floor to Settle
Allow the newly installed vinyl plank flooring to settle for at least 24 hours before moving furniture back into the room. This will give the floor time to adjust to the room’s temperature and humidity, preventing any issues with expansion and contraction.
Conclusion
As you can see, installing vinyl plank flooring can be a straightforward DIY project, provided you have the necessary tools, materials, and patience. By following this detailed guide, you can transform your space with a beautiful, durable floor that’s easy to maintain. Remember to prepare the subfloor, acclimate the flooring, and plan your layout carefully to ensure a professional-looking result that will stand the test of time.
Get in touch with Durham Building Materials
If you would like to know more about vinyl plank flooring and what you need to do to install it successfully, get in touch with Durham Building Materials, who are not only very informative on the process, but who also happen to stock some of the best flooring materials, including vinyl plank flooring, in the Jacksonville area.

