Removing old wallpaper from a wall can seem like a pretty intensive task, especially if you’re not that well-versed in DIY. However, it is necessary if you want to update the look of your space, and can be a pretty valuable renovator’s skill to learn.
No matter if you’re renovating a room or just want to freshen up your walls, knowing how to remove old wallpaper is a worthwhile tip. Sure, wallpaper may not be as popular as it used to be, but even if you plan to paint, implement brick slips, or even bring back the exposed work underneath, you need to know how to work with the wallpaper that’s already there.
In this post, we will provide a step-by-step guide to help you remove old wallpaper from your walls.
What tools will I need?
Before you start removing old wallpaper from your wall, you will need a few tools to make the job easier. Here is a list of tools that you will need:
- Wallpaper stripper solution for ease of removal.
- A bucket of warm water, and sheets to protect your floors.
- A spray bottle.
- Sandpaper.
- A large sponge.
- A scraping tool.
- A utility or putty knife with a safe grip.
- A screwdriver.
- Painter’s tape.
- Protective gloves.
How can I prepare the room for wallpaper stripping?
Before you start removing the wallpaper, you will need to prepare the room. This involves removing any furniture or fixtures from the room and covering the floors with a large cloth or plastic sheeting. You will also want to tape off any areas you wish to preserve unaffected, such as door frames, skirting boards, and window sills with tape to protect them from any damage. It is also a good idea to wear protective gloves to avoid any cuts or scrapes on your hands. It’s also important to have good ventilation in the space as you remove the wallpaper. Opening the window is usually enough.
Dampening the wallpaper
Once you have prepared the room, it’s time to dampen the wall. This is an important step as it helps to loosen the glue and make the wallpaper easier to remove. Without this, wallpaper removal is much harder than it needs to be, and you may even damage your walls.
To do this, mix the wallpaper stripper solution with warm water in a bucket as directed. Use a sponge to apply the solution to the wall, making sure to cover the entire surface. Allow the solution to soak in for a few minutes before proceeding to the next step.
Carefully peel the wallpaper
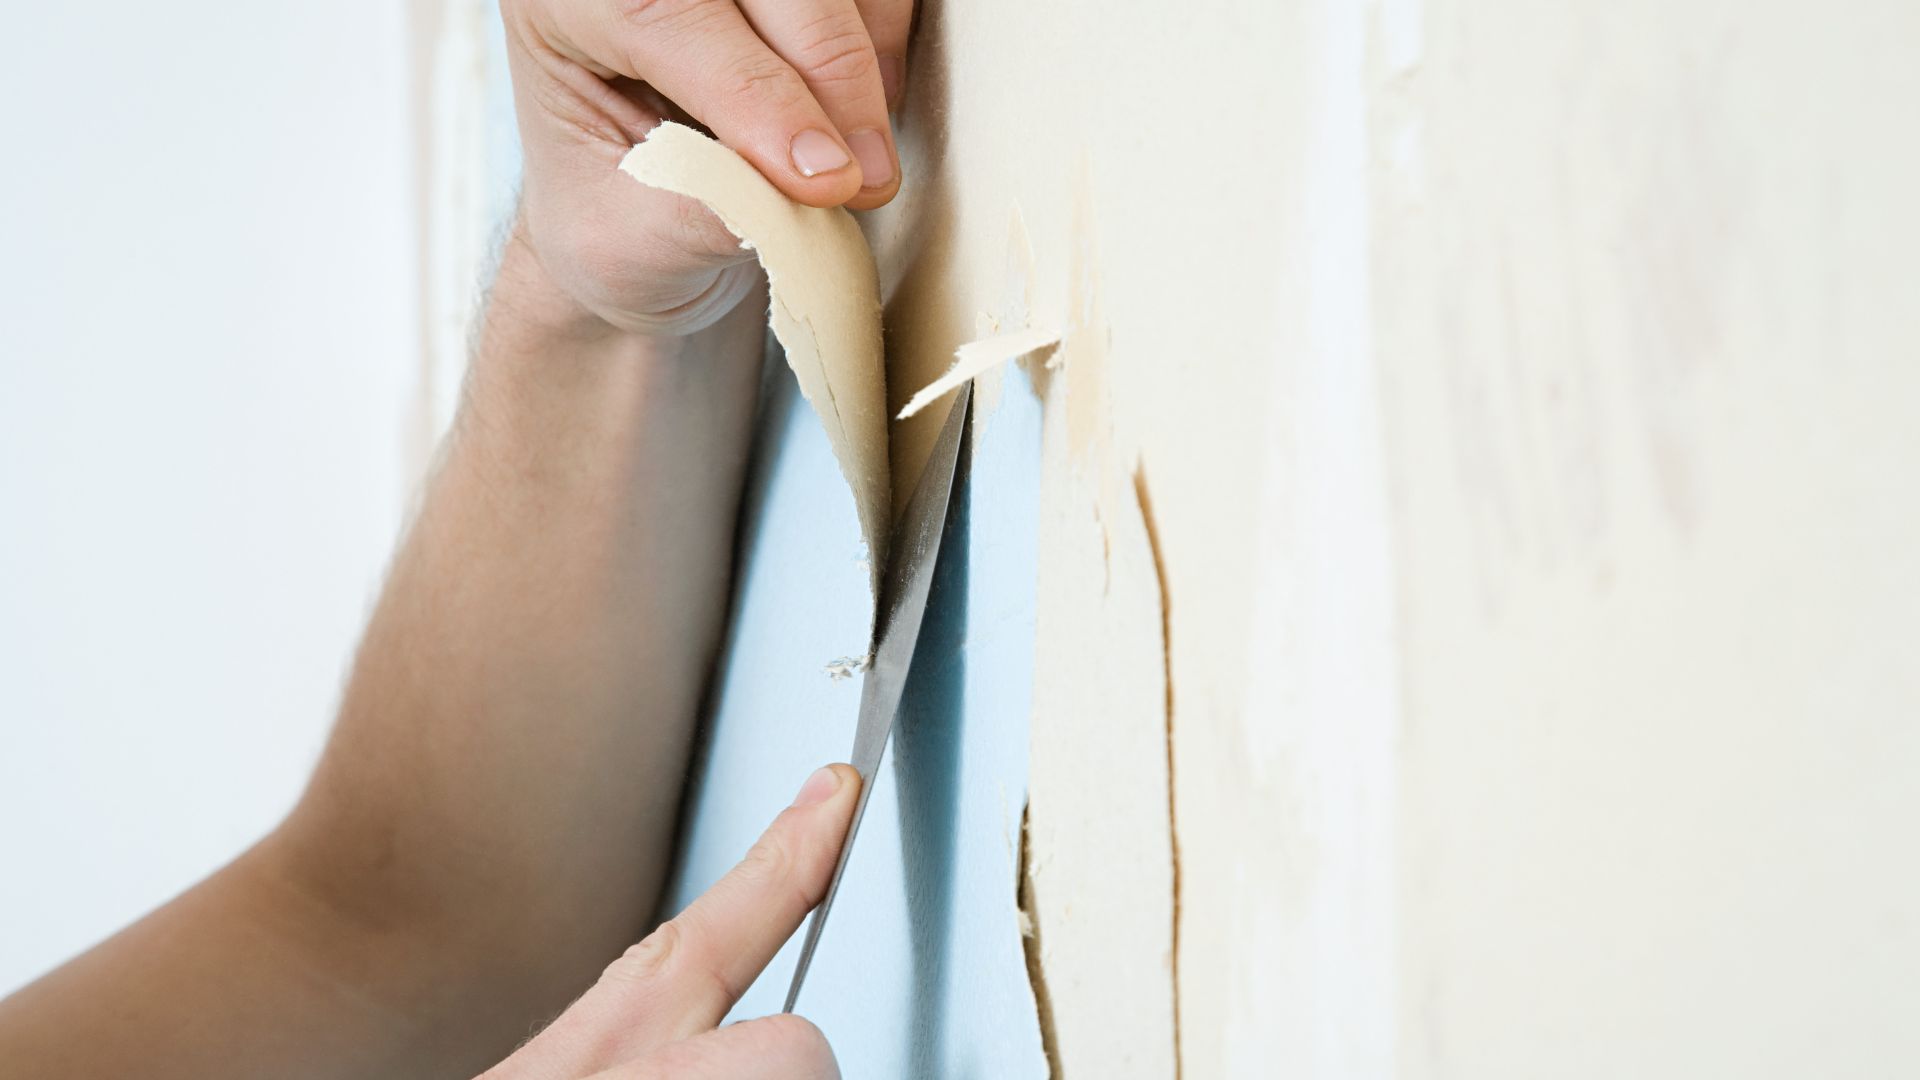
Now it’s dampened, it’s time to start peeling your wallpaper off the wall. Start by finding a loose edge of the wallpaper and gently pulling it away from the wall. Be careful not to pull too hard as this can damage the drywall underneath. If the wallpaper is difficult to remove, you can use a scraper tool to help loosen it.
Slow work is often prized here, because bit by bit you’ll be able to remove the wallpaper in sheets as you work to loosen it. If the wallpaper tears, it can make it more difficult to remove and may require more work to get it off the wall. If the wallpaper is not coming off easily, you can use a utility knife to score the wallpaper, making it easier to peel away.
Attend to the adhesive or glue left over
Once the wallpaper is removed, there will still be glue residue left on the wall. To remove the glue, use a scraper tool to gently scrape it off the wall. Be careful not to the actual wall underneath.
If the glue is difficult to remove, you can use that solution of warm water and wallpaper stripper to help loosen it. Apply the solution to the wall and allow it to soak in for a few minutes before gently scraping the glue off. This can provide a nicer, flatter surface when you come to paint it.
However, remember that before you start painting or adding new wallpaper to the wall, it’s important to test for adhesive. To do this, apply a small piece of tape to the wall and then remove it. If the tape removes any paint or drywall underneath, there may still be adhesive on the wall that needs to be removed.
Don’t forget to wash the wall
Washing the wall, gently but directly, is necessary to finish the job. Use a sponge and warm water to wash the wall, removing any remaining glue residue. If the glue is particularly stubborn, you can use a solution of warm water and vinegar to help remove it.
This helps you ‘reset’ your wall as it were, making it seem that the wallpaper was never there at all. If you were careful, sometimes you can even reuse the removed wallpaper for another DIY project, but of course, the main priority is peeling it carefully and intentionally without causing damage.
Final steps
From here, you can determine what to do next with your lovely, fresh wall. Perhaps you’ll paint it, in which case you might reapply the plastering, add layers of primer, wait for that to dry, and then move onto your glossier paints.
If you hope to reapply wallpaper, then it’s important to make sure the wall is completely dry before you do so, and any adhesive has been attended to. In some cases, this might be the first time you’ve seen the underside of your wall, and so certain previous DIY jobs undertaken by the previous owner could be present. This might include writing on the walls, height measurement charts for the previous family, or just damage that was hastily repaired.
In this case, repairing or refurbishing the wall as a base layer for whatever your next plans are can be a good way to reassert your ownership of this space, and potentially rectify issues that came before – such as resolving shoddy wiring behind the construction itself.
Regardless, we hope this guide helped you remove the wallpaper on your property to make this DIY process more feasible.

