There are many creative methods of decorating a room without bringing in more unneeded ornaments or furnishings. Decorating your walls can completely pivot or enhance the visual design of a room, but have you considered the potential effects of designing a ceiling space?
Implementing ceiling fans, lighting decorations, and painting our above space a clean, neutral color can be a great way to start, but you’d be surprised just how much more room for creativity you have.
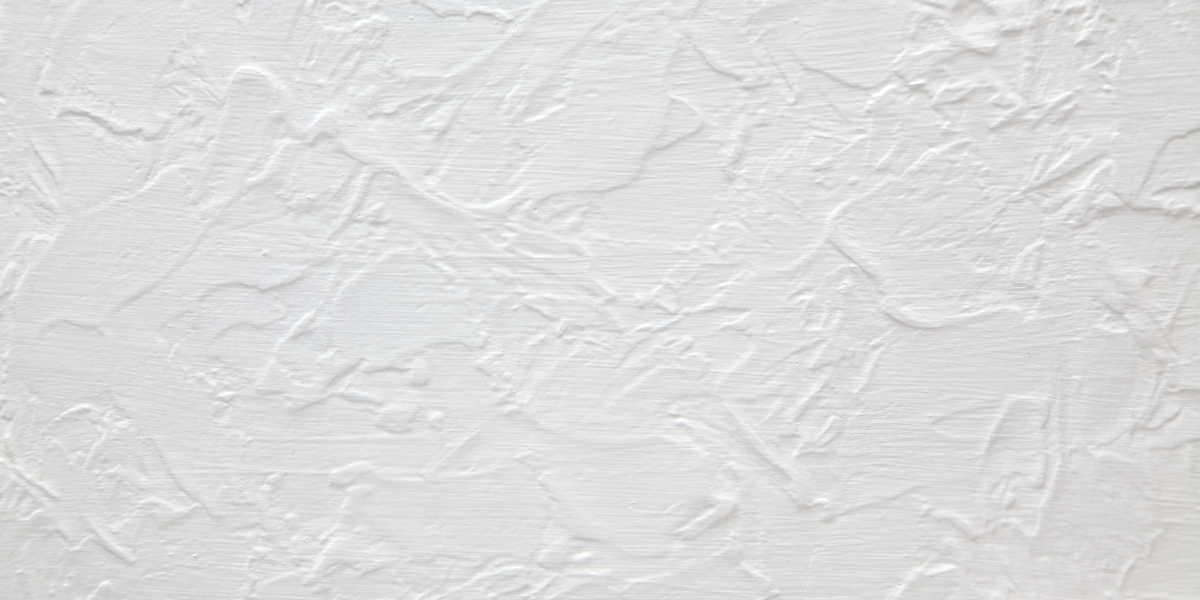
As such, textured ceilings remain a popular and inexpensive means of adding some flavor to your ceiling space, enhancing its visual appeal and profile in every way.
In this post, we’ll discuss how you can texture a ceiling with care.
What tools will I need?
It’s important to gather the following tools:
- A stable stepladder that can reach your ceiling.
- Dust masks.
- Primer and paint.
- Paint rollers and trays.
- Mixing bucket for joiner’s compound, ideally with drill mixing attachments.
- Putty knives.
- Painter’s tape.
- Safety goggles.
- Spare clothes.
- Plasterer’s hawk.
- Plastic/dust sheets.
- Sandpaper.
- Texture sprayers (optional).
- Joiner’s compound.
Prepare the room
To begin with, it’s essential to prepare the space for your texturing job. Wear spare clothes you won’t mind getting dirty, or if you have an apron or protective coat you can wear, that will work too.
Use dust or plastic sheets to line the floor so that compound flakes, and dust won’t damage or stain your floor and furniture. It’s also smart to remove as much furniture as you can, and protect your walls and fixtures to prevent any unnecessary damage.
We’d also recommend wearing your dust mask and safety goggles, this will prevent paint chips and flakes from causing you harm or irritating you.
Decide on your texture
It’s best to keep a unified texture across the entire ceiling during this effort, and so deciding on the most suitable design for your room takes some forethought. There are four texture shapes worth considering, and all can be applied by hand:
- Popcorn texture – this is a rougher, bumpier texture (as if little kernels of popcorn were under the texture compound). It can look great if applied correctly, and can even absorb sound more easily thanks to its uneven texture pattern.
- Swirl texture – by making swirl patterns with your painter’s knife or trowel, you can add swirling patterns similar to how you might ice a cake, but here you create a raised relief effect from the overhead surface. Such a design can look elegant and subtle if applied correctly.
- Stomp texture – if you’re looking for a simple, quick-to-apply and less curated design, dabbing your paintbrush or sponge can create a raised pattern “stomped” across your ceiling pattern.
- Skip trowel texture – similar to how a chef might line sauce on a plate, using a trowel to apply joint compound and then skip or drag that across the ceiling can add an irregular texture with depth, and can be directed as you wish.
These are just four examples, there are many more you may wish to implement depending on your need. Make sure to consider your ideal design before applying your joiner’s compound.
Getting ready to texture
It’s important to prepare your joiner’s compound compound. This will involve mixing your joiner’s compound in a bucket with water depending on the manufacturer’s instructions. Some particular texture mixes may have specific needs, so make sure to read the instructions and follow those.
You can also apply painter’s tape to the side walls, just under the ceiling joint, to prevent any compound from applying to your side walls.
Don’t forget to wear your safety equipment, including goggles and dust mask. Personal protection is important, as texturing can be messy work, and you don’t want to breath the detritus.
Texturing work
There are a few methods for applying the mix to your ceiling. Standing on your stable stepladder, you can scoop the mix onto a plastering hawk and use a drywall or painter’s knife to apply designs such as the skip trowel texture.
If you have a sprayer or hopper gun, you can pour the mixture into that, and then adjust your nozzle settings to achieve the best texture pattern for your needs. This is optional but can be a convenient investment to make.
Make sure to work in smaller sections and don’t stretch yourself from the stepladder. It’s best to work slow and steadily, making sure your pattern is laid as cleanly as possible. Don’t worry about irregularities – misshapen or uneven texture patterning is part of the desired effect.
When applied, allow 24-48 hours to dry completely.
Finishing touches and maintenance
When the compound is dried, using fine sandpaper can help you even out the misshapen or dripping layer, just be careful not too remove too much.
From here, you can apply primer to ensure your paint sticks properly when painting over the compound. Then, you can paint your ceiling the exact shade you wish for. Note that lighter colors are often better because texture adds its own visual patterning.
From here, you may need to apply more than one coat of paint, always letting the previous dry before adding more.
From there, common maintenance efforts can be ideal. Dust your ceiling as and when you can to prevent dust built-up. Remember that you can always sand down, scrape off, and reapply the texture compound if you believe part of your application should be redone.

