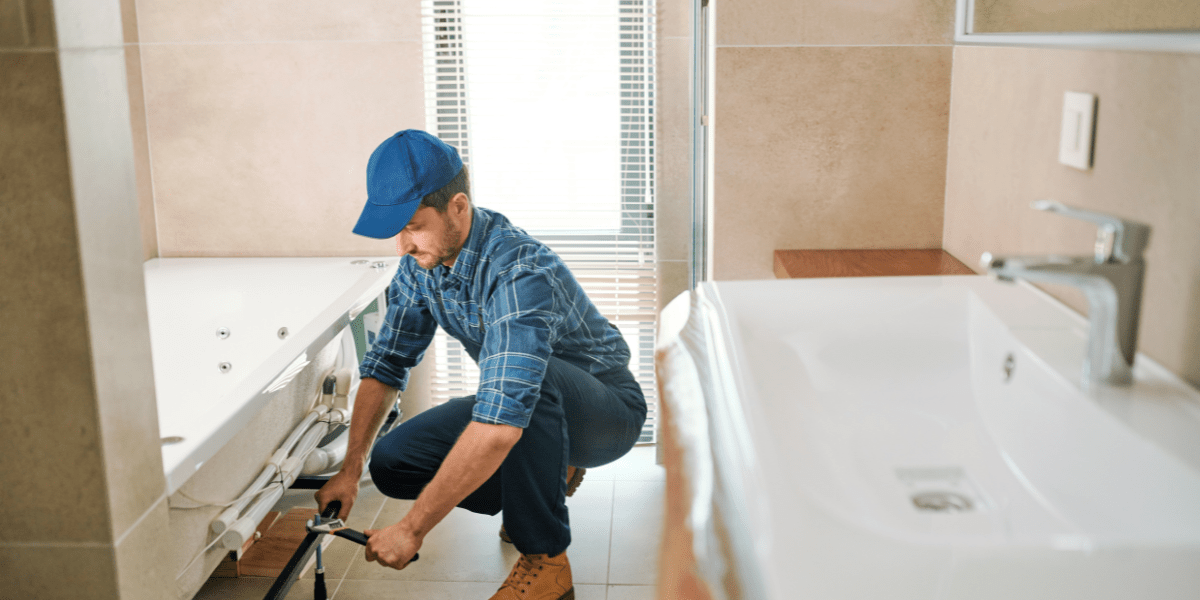
Have you walked into your bathroom only to be met by the sight of a large chip in your beloved bathtub? While this can be alarming, repairing your damaged tub doesn’t need to be costly or time-consuming – here we offer five easy steps that you can follow to repair a chipped tub and bring back its former glory.
So if you want advice on how to repair a damaged bathtub without breaking the bank – keep reading!
1. Clean the Chipped Area
Prior to beginning repairs on a chipped bathtub, it is vital that the area surrounding the chip be thoroughly cleaned with an appropriate product for your specific type of tub and beginning by wiping away dirt or debris from its surface. Next, complete a more thorough scrub using a soft bristled brush containing mild detergent for an even deeper clean.
For tougher areas of residue, use a soft-bristled toothbrush dipped in warm soapy water and lightly scrub away any stubborn deposits or dirt. Make sure that after each scrub session you rinse out completely to make sure nothing remains behind before commencing repairs. In certain instances, sanding down chipped areas is also beneficial in order to ensure there are no further harmful elements present before beginning repairs.
2. Fill in the Chipped Area
Once your chips have been properly cleaned up, the next step should be filling them in. To do this, purchase a bathtub repair kit equipped with epoxy resin-based fillers formulated to repair ceramic and porcelain surfaces such as bathtubs and sinks. Before applying these fillers, make sure you carefully read and follow all instructions provided with your kit.
Once ready, use the included putty knife or other tool to spread a thin layer of epoxy resin filler in the crack or chip. Be careful to spread it evenly and avoid overfilling as this could result in bubbles or discoloration in the finished repair job. Once cured, dust off any excess material with a soft cloth before buffing gently using dry cloth until you achieve an even finish.
3. Apply Primer and Paint
Once the area has been filled and dried, it’s time to apply primer and paint. Applying a coat of primer will provide a strong base for paint application as well as prevent any staining on the bathtub surface. Lightly sand down the repaired area with fine-grit sandpaper in order to remove excess material and create an even surface, followed by using quality primer that specifically designed for bathtubs or surfaces exposed to moisture – apply several coats until coverage is desired before waiting until each one has dried completely before applying another one!
When painting bathrooms, make sure you use water-resistant paint that has been specifically formulated for their surfaces. Two thin coats should suffice in creating an even finish and preventing streaks or noticeable brushstrokes; allow each coat of paint to dry for at least 8 hours between applications before proceeding with another coat if necessary – too many coats could lead to peeling or bubbling when exposed to moisture over time.
4. Protect the Surface
After your bathtub has been repaired successfully, it’s essential to protect its surface from further deterioration. A sealant made specifically for bathtubs will provide extra protection from moisture, dirt, and other elements; using soft cloth when cleaning and forgoing abrasive scrubbers may also help prolong its condition over time.
Maintain the shine and protect against discoloration with regular treatments of wax or polish for your bathtub, to help preserve its shine and stain-resistance. It should be applied in an area that offers ample ventilation as some products contain volatile organic compounds (VOCs) which may irritate skin or eyes. Also make sure that when applying these products that they follow directions precisely – too long can result in staining.
5. Troubleshoot Potential Issues
At times, bathtub repair may not go according to plan due to various factors like using the wrong material or tools. If this occurs in your case, it is imperative that any issues with your project are quickly identified in order to avoid further damage or costly professional repairs.
Discoloration, bubbling, cracking and peeling paint are common problems. To address them, sand down the surface before reapplying another coat of primer and paint. If air bubbles appear after filler application, punch holes into them with a pin before reapplying until all air pockets have dissipated. It is also vital to use only top quality products in order to ensure a successful repair.
By following these steps, you can successfully and safely repair your bathtub without the assistance of professionals. Be sure to take your time when using high-quality materials for long-lasting repair jobs.


